Plan a Keyboard Display: Measure Your Desk and Arrange Your Boards
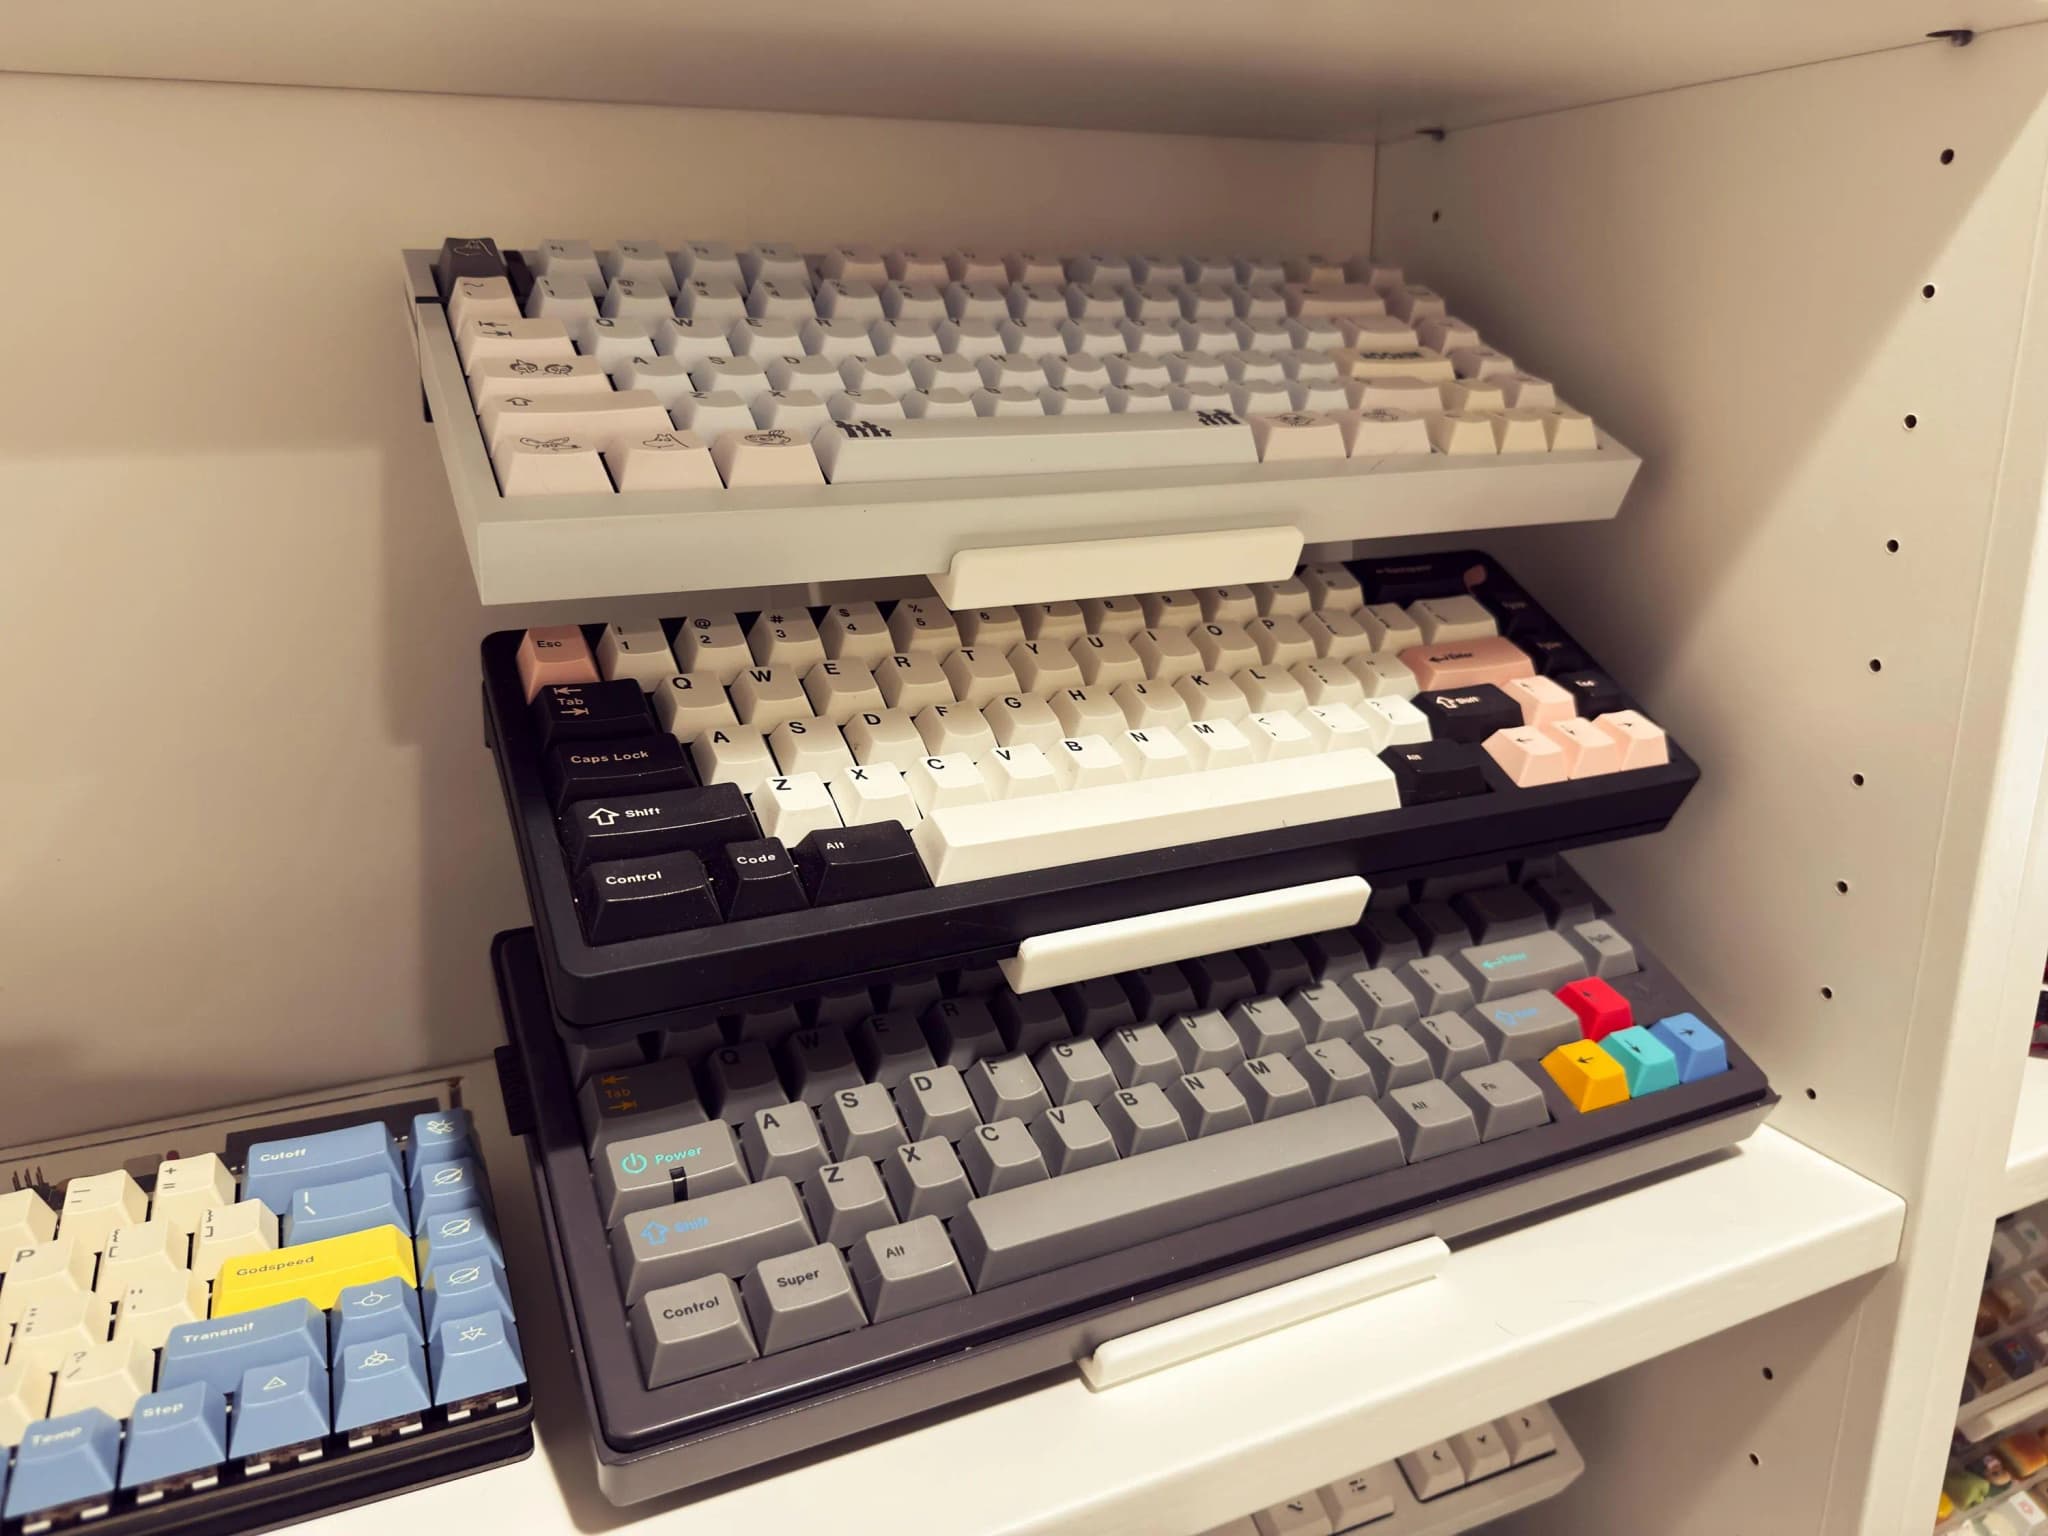
A keyboard display needs room for the stand, the boards and your hands. Plan those three things before choosing a corner of the desk. This guide focuses on placement; the stand buying guide covers models and options.
Start with the working area
Put your everyday keyboard, mouse, monitor and laptop where you actually use them. Move the mouse through its normal range and open the laptop fully. The remaining space is your potential display area. Keep drinks away from the route you use to take keyboards off the stand.
List the boards you want within reach. A practical arrangement might be one keyboard on the desk and three on a stand, with less-used boards in their cases. You do not need to display every board at once.
Mark out a measured footprint
Use paper or removable tape to mark the stand's width and depth on the desktop. For example, the 3-tier, 4-inch Classic measures 101.6 mm (4.00 in) wide by 164.9 mm (6.49 in) deep, with a stand height of 166.6 mm (6.56 in). Find your exact version in the size guide.
Next, account for keyboard overhang. Measure each keyboard case separately; the stand width is not the total width of the loaded display. Leave clearance behind for cables and above for keycaps. A cardboard outline can help you check the proposed arrangement before ordering.
Plan the removal path
Check that you can lift and withdraw each board without hitting a monitor arm, shelf, wall or neighboring keyboard. Try the movement with a keyboard in your hands above the marked area. Avoid a position that requires you to reach over a drink or pull on a connected cable.
For a two-sided Butterfly display, leave access on both sides. For a cabinet, measure the opening with the doors open and check that hinges do not obstruct the removal path.
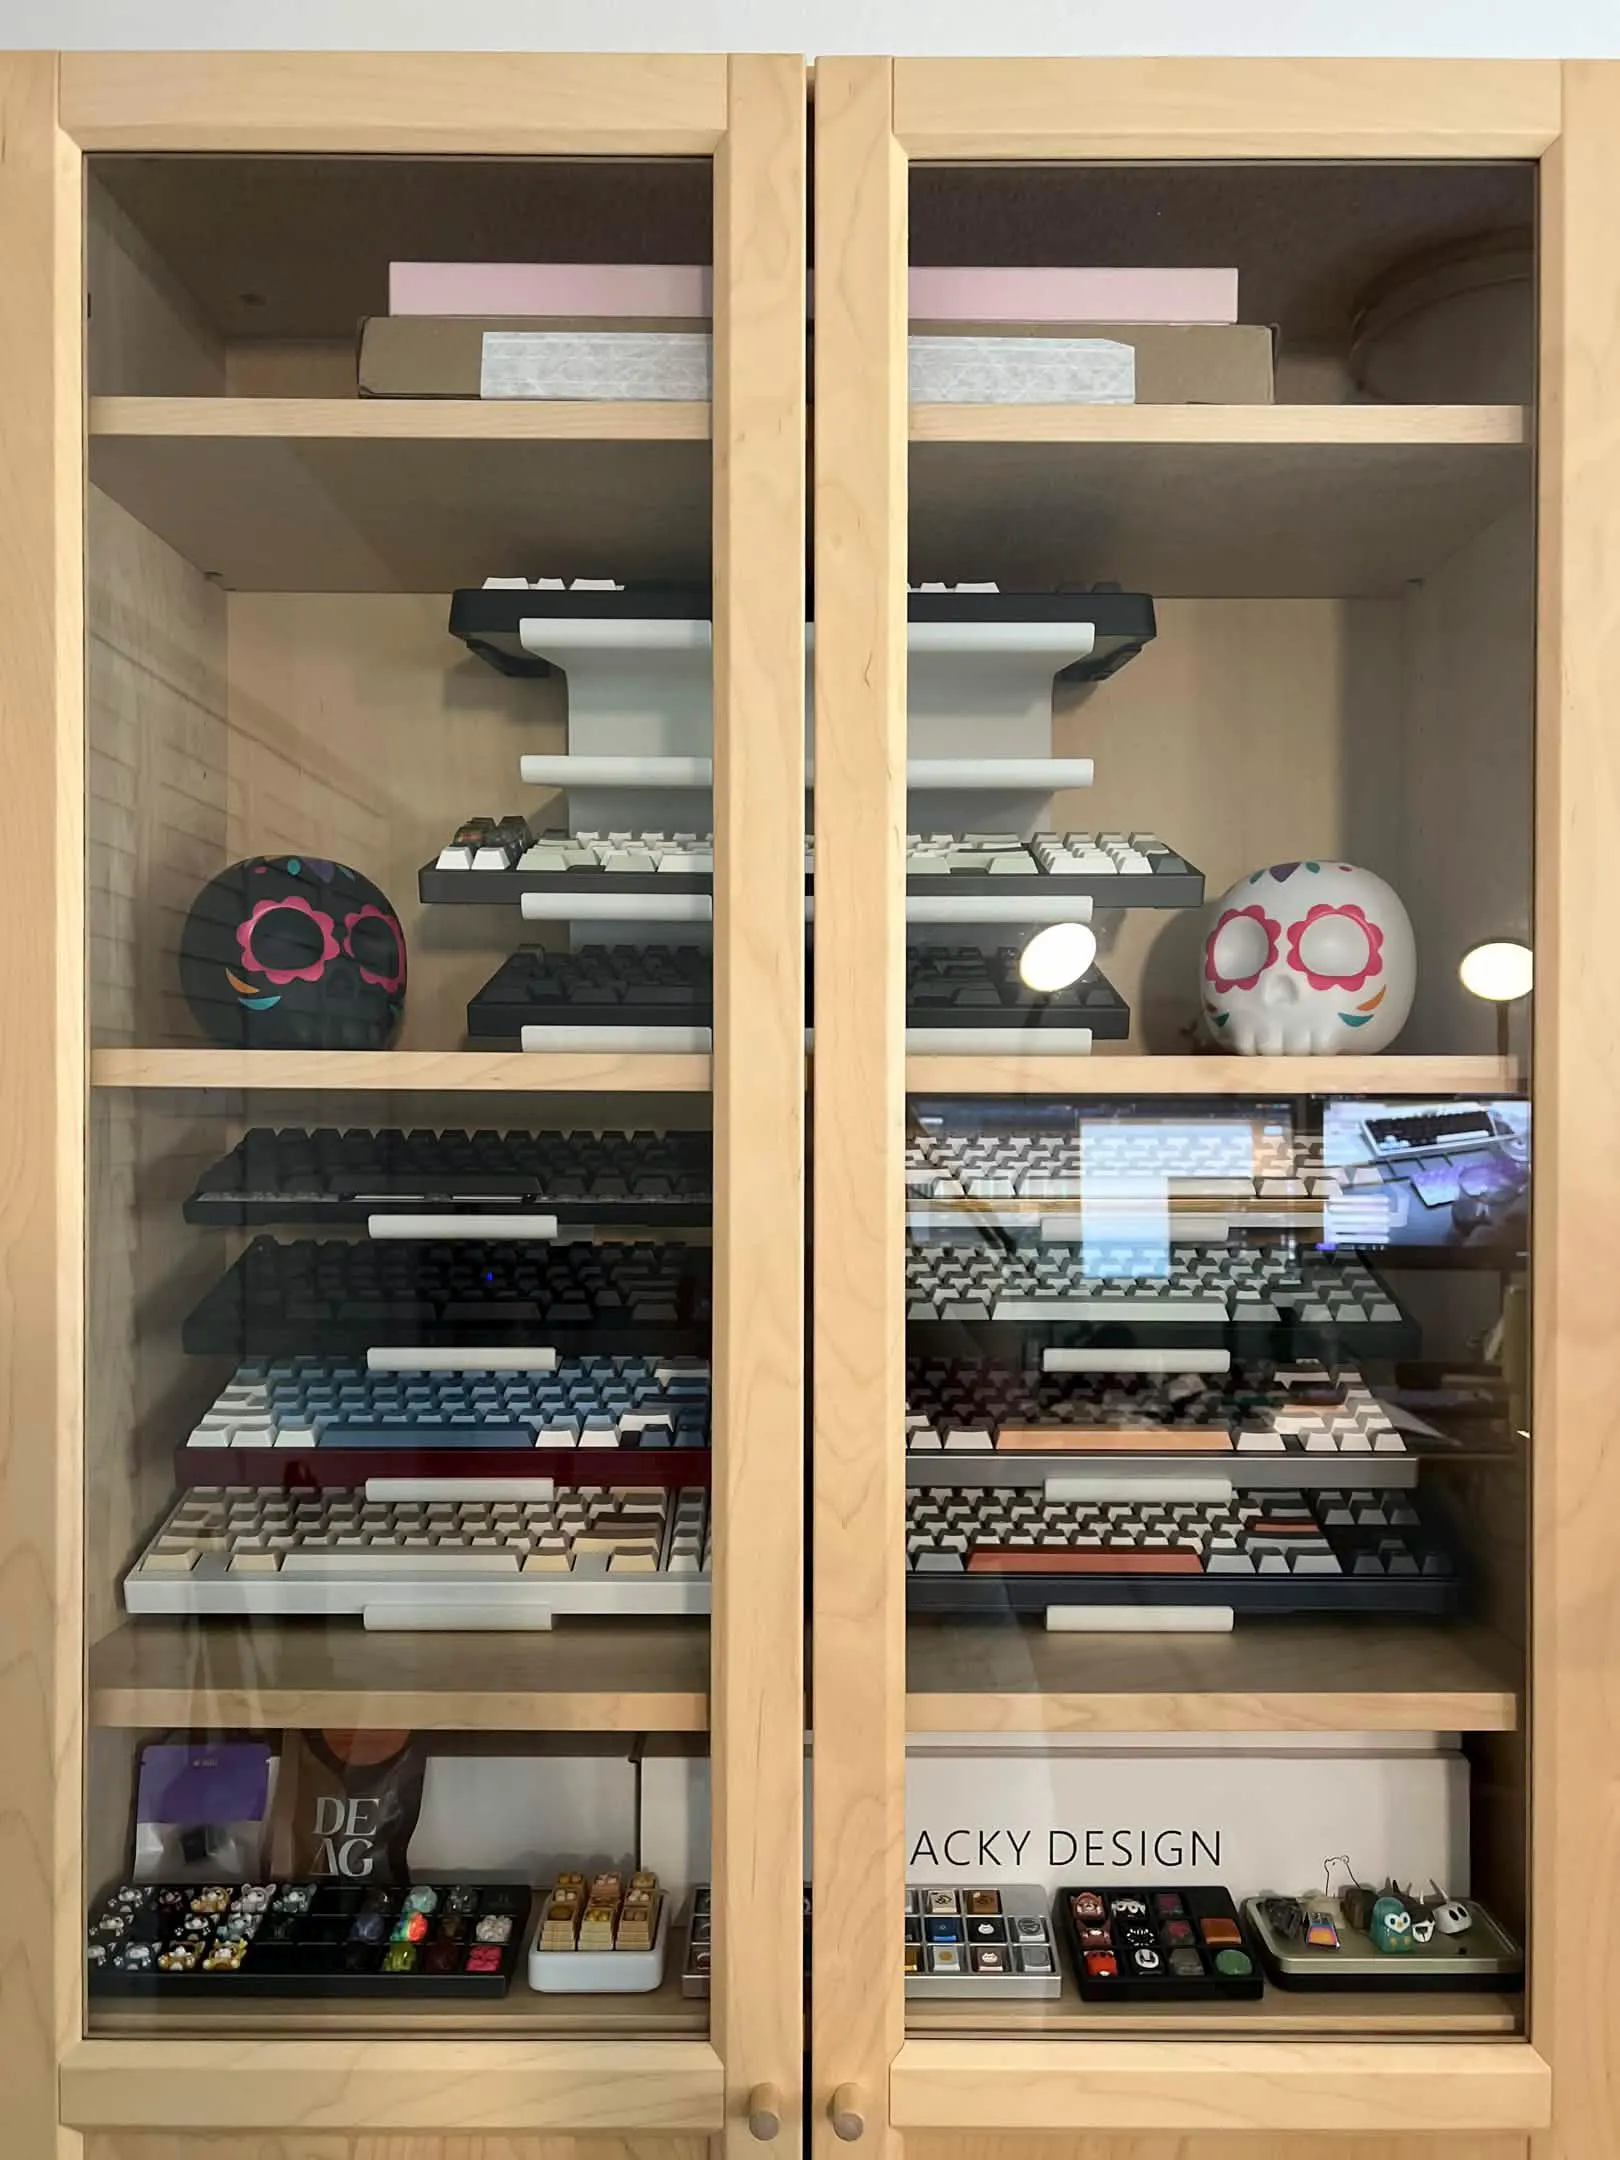
This customer photo shows stands inside a glass-front cabinet. It is a useful placement idea; your shelf spacing and keyboard dimensions still need their own check.
Arrange mixed keyboard sizes
Start with the boards that have the most demanding case shapes or connectors. Check their contact points before deciding the display order. Then look at the arrangement from your normal seat: can you see the boards you wanted to feature, and can you reach the one you swap most often?
A 60% board and a TKL can share a collection, but their layout names do not guarantee that they fit a particular support position. Measure the actual cases. Ask us about split keyboards or unusual feet if the fit is uncertain.
Route cables and finish the setup
If a displayed keyboard stays connected, check its port location and connector length. The optional USB cutouts provide cable openings; they cannot move the port on your keyboard. Leave enough slack to remove the board without tugging on the connector.
Once the layout works, use the customer gallery for color and lighting ideas. A stand against a plain background makes a colorful collection easier to see, while a shelf can keep the desktop available for typing. The best arrangement is the one you can comfortably use each day.
Ready to display your keyboards?
Browse our collection of premium keyboard stands, designed for enthusiasts like you.
Shop Stands